Monday, 13 June 2011

Crochet hook case :D

I ordered a set of 12 crochet hooks as my set is rather random and incomplete. So with my 12 new hooks on the way (2mm- 8mm) I decided to  make a crochet hook case. I found THIS great tutorial by Joanne for the perfect crochet hook case and I am thrilled with the results! I used fabric from what remained of my mums stash (from the days when she did quilting) to save money. I also made a few adjustments to the pattern: 

  1. Made it 3 inches longer to make it large enough for all 12 hooks 
  2. Decreased the size of the inside pocket so it was an inch shorter (accidental)
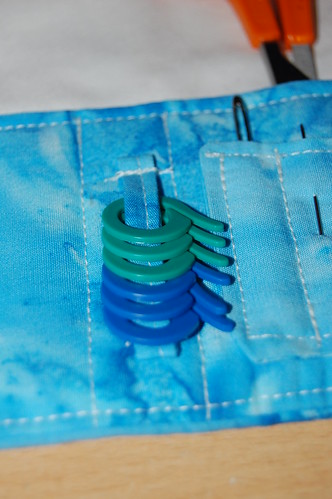
  3. Added a little bar to hook on my stitch markers
  4. Made the top flap an inch bigger (to compensate for accident)
  5. Used wadding  instead of interfacing (because I had no interfacing)

The instructions were really easy to follow and the case has a nice finish. I can't believe that after rolling out of bed past 11 that I managed to finish it by 5.30 when the last time I sewed I was about 13. My mum was a great help she guided me through the first half making sure I was doing it correct and then I felt confident enough to finish it when she went away.

Here is a picture of my current case and hooks and as you can see I have a random assortment of hooks. I got the case free with a magazine (can't remember which magazine though). It has no room in it for my new hooks.


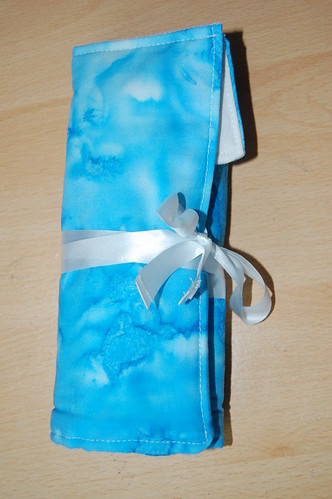
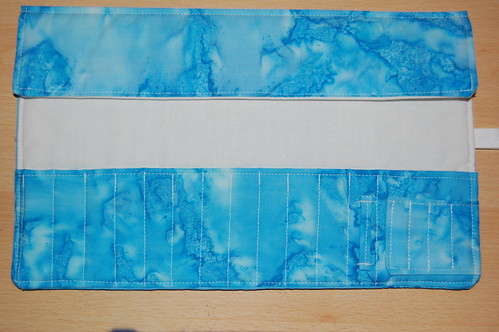
Here is a picture of the new case without the hooks...


Here is a close up of the stitch marker holder with stitch markers on. I love this little addition, it means I will be able to carry them with me without worrying that I will loose them!

I love the fabric I used, I'm so glad I did use it despite not particularly wanting to.  

And finally here it is with my 12 new hooks which arrived today :D
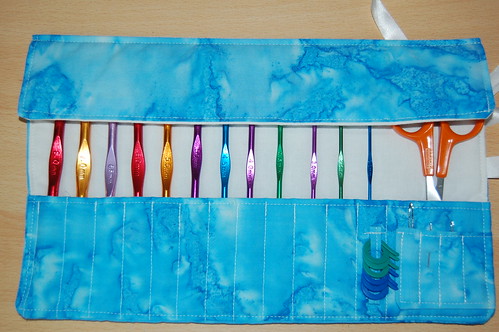


I am dead chuffed with it and definitely recommend using this tutorial/pattern if you choose to make one!

Hope you like it x

P.s check out Easy makes me happy blog, she has brilliant designs and is currently doing a giveaway of her awesome lamb bonnet hat!

Sunday, 5 June 2011

Kawaii paperweight

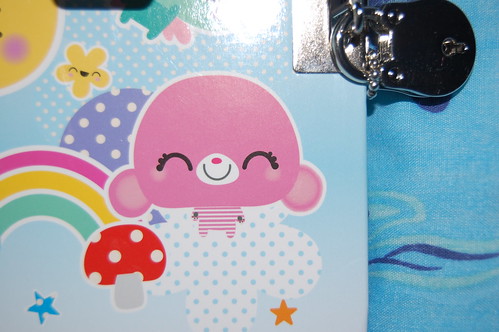
I recently bought a notebook and some magnets from a shop called Paperchase. I've never seen this shop in the northwest, but I saw it in London and Portsmouth. I think the creatures on them are really cute. So I decided to make one of them myself. I went for the pink one to start with. As you can see on the book....


And the magnets....


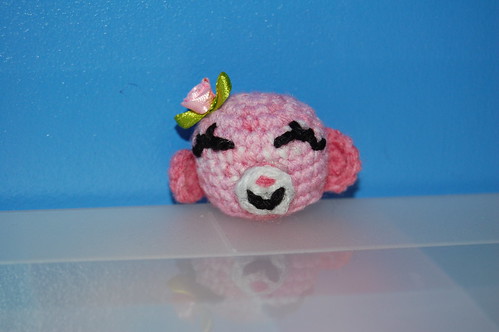
I'm still learning the ropes, in terms of when creating my own shapes, knowing when to increase and decrease (bar doing a sphere which I've made enough to know how to do it). But practice makes perfect so here is may attempt at the head... 


The head is quite small, which is how I wanted it but maybe the features could have be smaller. I added a flower to the head like in the magnet picture. I'm really pleased with it and it makes a good paper weight. I did write down the pattern for it but I think I might make tweeks before I ever post it. 


Hope you like it!

Friday, 3 June 2011

My First Pattern: Happy Geisha

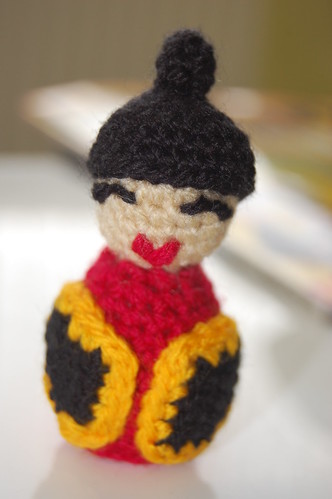
So I've finally got around to making my own pattern. The other day I saw a geisha doll and decided to crochet one myself. Here is a picture of it...


and a picture of the back which has a flower on it...


So here is the pattern, I would love it if you would like to make one and give me feedback on what you think of the pattern, and if it has any hiccups.

The pattern will be written in US terms. In the abbreviations I will put the UK name for the stitch in brackets.

Abbreviations 


Ss = Slip stitch
Ch = Chain stitch
Sc = Single crochet (Double crochet)
hdc= Half double crochet (Half treble crochet)
dc= double crochet (treble crochet)
Inc = Increase (two sc in one sc)
Dec = Decrease (crochet two stitches together)
* = repeat

Hooks used 3.5 and 2.5

Body 3.5mm hook, red yarn

  1. Magic circle
  2. 6 sc in ring
  3. *2 sc in each sc* around
  4. *1sc, inc* around
  5. sc in each stitch (backloops only)
  6. sc around
  7. sc around
  8. sc around
  9. sc around
  10. sc around
  11. *2sc, dec* around
  12. sc around
  13. *1sc, dec* around, sc
  14. Place coin in base as a weight and stuff
  15. *sc, dec* around, sc
  16. Fasten off and stitch top closed

Flower for back   2.5mm, Golden yarn
  1. magic ring
  2. 5sc in ring
  3. inc around
  4. *(hdc, dc, ch1, dc, hdc in one stitch), ss in next stitch* repeat 5 times
  5. Fasten off

Sleeves (make 2) 2.5mm black yarn
  1. Ch2
  2. 2sc in 2nd ch from hook, ch1 and turn
  3. inc in each stitch, ch1 and turn
  4. 3sc, inc, ch1 and turn
  5. inc, 2sc, dec, ch1 and turn
  6. sc across
  7. fasten off
  8. join in golden yarn
  9. sc around edge of sleeve (all the way around)

Head  2.5mm, skin coloured yarn
  1. magic circle
  2. 6sc in ring
  3. inc around
  4. *sc, inc* around
  5. *2sc, inc* around
  6. sc around
  7. sc around
  8. sc around
  9. *2sc, dec* around
  10. *sc, dec* around
  11. dec around
  12. fasten off
Hair 2.5mm, black yarn

  1. magic circle
  2. inc in each stitch
  3. *1sc, inc* around
  4. *2sc, inc* around
  5. sc around
  6. sc around
  7. fasten off

Bun 2.5mm, black yarn
  1. magic circle
  2. 6sc in ring
  3. sc in each stitch
  4. sc in each stitch
Finishing off

Embroider face
Attach bun to hair and then attach hair to head
Attach flower to back of body
Attach the sleeves to body

Wednesday, 1 June 2011

Holiday crochet

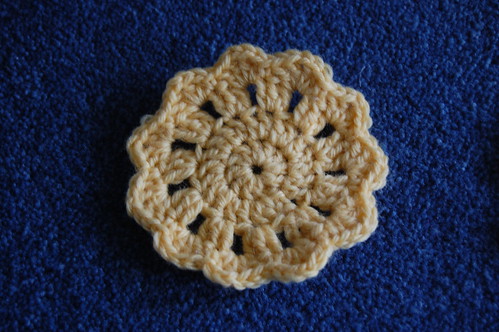
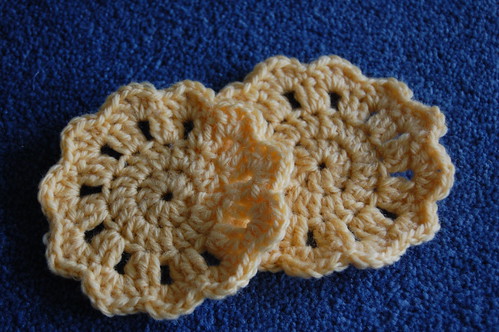
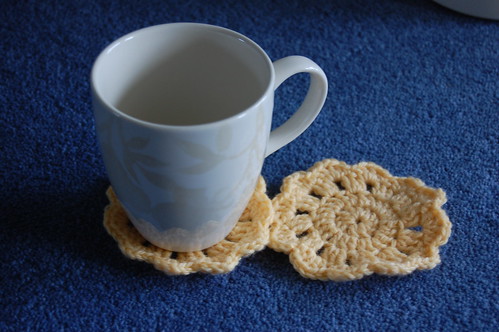
I have currently been visiting my brothers in the south of the country, so I have been very busy. Considering that I had to catch the train here I couldn't bring much crochet with me (mind you I haven't had much time to crochet). However I brought some yarn with me to make some coasters in the evening before bed. I found a lovely pattern on Ravelry, which is simple and quick (you may have noticed that I don't like big projects). Here are some pictures below:


I definitely prefer making Amigurumi but this has been great to do whilst on holiday 

Sunday, 29 May 2011

Catch the Snitch!

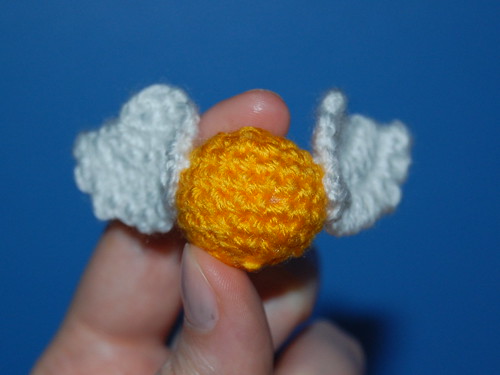
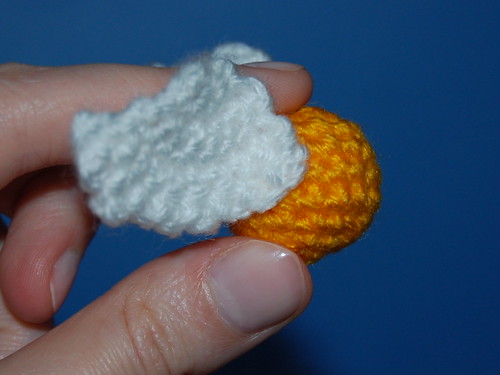
So on Ravelry I have joined a forum HP Knitting and Crochet House Cup, which they have Quidditch matches were each team have to make a certain pattern and the teams compete to make the most (a player can only make one) for the first match (the only one I have been able to compete in this month due to uni) we had to make the golden snitch. The pattern was from Inner Child Crochet and its great! It was really easy to make I didn't take long to make. And Slytherin (which I'm in) won the match :D


I love the wings especially I think they look good and would definitely use them for an angel or a fairy!


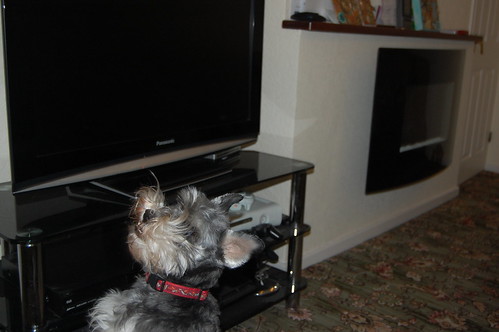
I then tried to get a picture of holly catching the snitch (Katie refused because she decided it was naughty to play with my crochet). It didn't go so well though lol.....


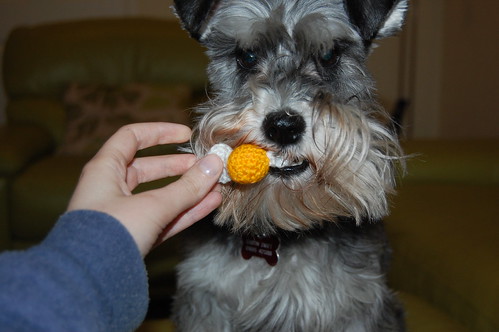
I then tried to get her to hold it in her mouth but she kept dropping it straight away....


Finally I managed to get a shot of her holding it seconds before she dropped it again :D But at least it looks like she caught the snitch :D She could definitely make seeker!


Well since I have now finished uni I will have lots of spare time to crochet until October, so I will be blogging lots more. Also I have the time now to try and create a pattern which I really want to do.

Til next time x

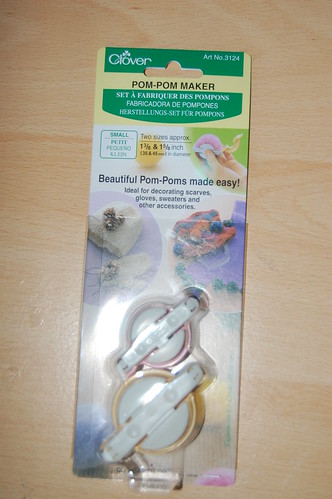
Review: Clover Pom-pom maker

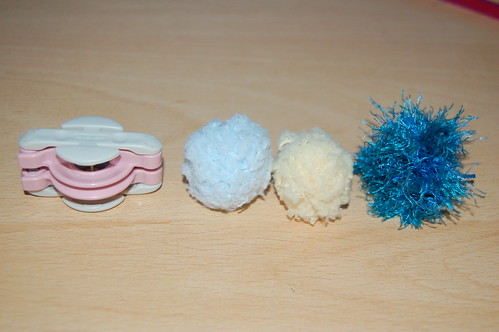
So my exams are all done and my degree finished :D So the other weekend I went to the craft and hobby fair at Aintree and bought myself a Clover Pom-pom maker. I decided that I would like to be able to make pom poms easily and quickly as my other attempts have been a bit tedious. I bought the two smaller sizes.


The instructions were really easy and it was incredibly quick to make the pom-poms and they came out really well. 


These are the pom-poms I made I made with the larger of two (I should I have put a coin in the picture to show the size, sorry) These would be perfect for a childs or babies hat. I loved making them with snowflake yarn as it made a really soft fleecy ball :)


This is the smaller size and I think its really cute. However I wouldn't use the blue funky yarn again because it shedded alot after I cut around the edge and continues to do so every time I touch it.
To try and help show you the size I have two pictures of the two different sizes in my hands

Below is the smallest size in my hand...


And now the largest size...


I think the Clover pom-pom maker is great and I would love one that makes heart shaped pom-poms! This is definitely a must have if you want fast, easy and great looking pom-poms!

Saturday, 7 May 2011

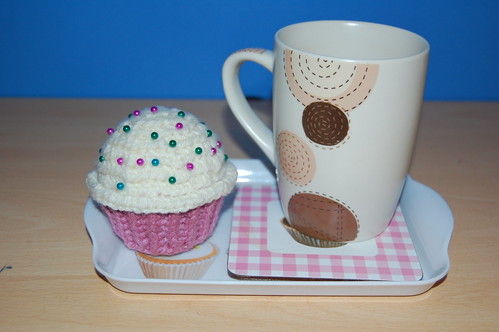
Tea and Cakes

The other day whilst I was stuck at home revising my Mum and Dad went out to the craft shop and bought me a polystyrene ball.


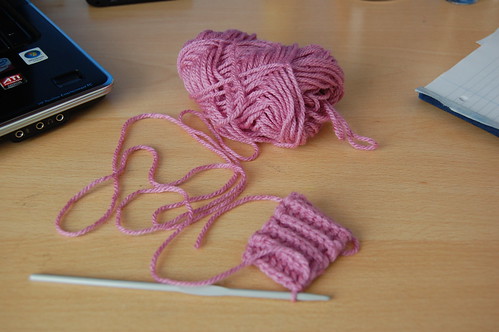
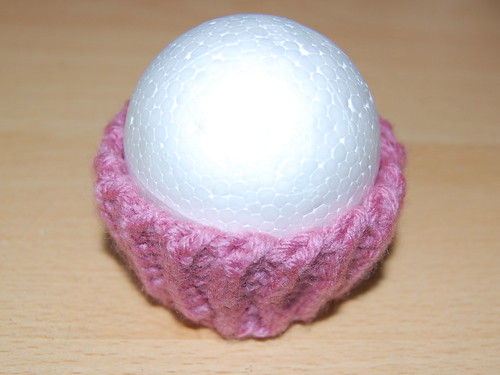
They had seen it in the shop decorated with sequins and paper to make it look like at cup cake and they thought I could use crochet to make the same effect. So today when I decided to take a break from revision I decided to make the cupcake. I wanted the base to look like a cake case so I searched the internet and found THIS great video showing how to make cupcakes! So I started to crochet the base...


When I finished I was really pleased with they way it looked and I had made it a size that would fit the polystyrene ball.


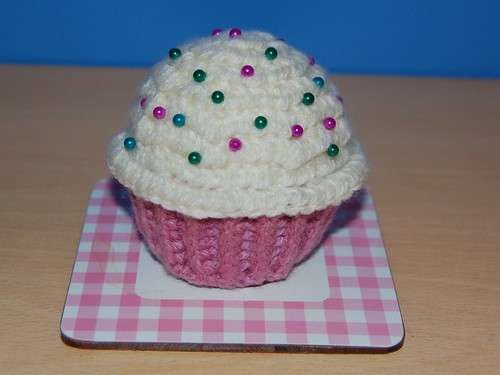
I then made the icing myself by crocheting half treble (or half double in US) in a spiral but only crocheting into the back loops. I then attached to the base with the ball inside (I added a 2p coin to the base to give it weight and some stuffing to fill out the bit the ball didn't). I then added coloured pins to the top to look like sprinkles. And this is the yummy result....


Now just time to sit down and relax with a cupcake and a nice cup of tea


I really wish it was real now! Well I think this will be my last blog until after my final exams on the 27th this month. Can't wait til then :D

Hope you like it! x